Bafang Conversion Kit: 15 Installation Tips Before You Start (2026)
A Bafang mid-drive conversion can turn a mediocre bike into a capable e-bike—or eat an entire weekend if you skip the prep. These 15 tips cover kit selection, frame compatibility, tools, battery placement, and the mistakes that waste time and money. The goal is simple: get you riding, not debugging.
Match the Kit to Your Frame, Not Just Your Budget
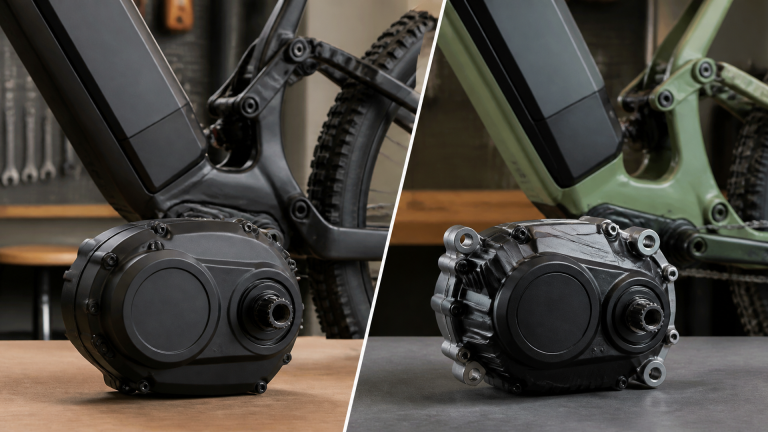
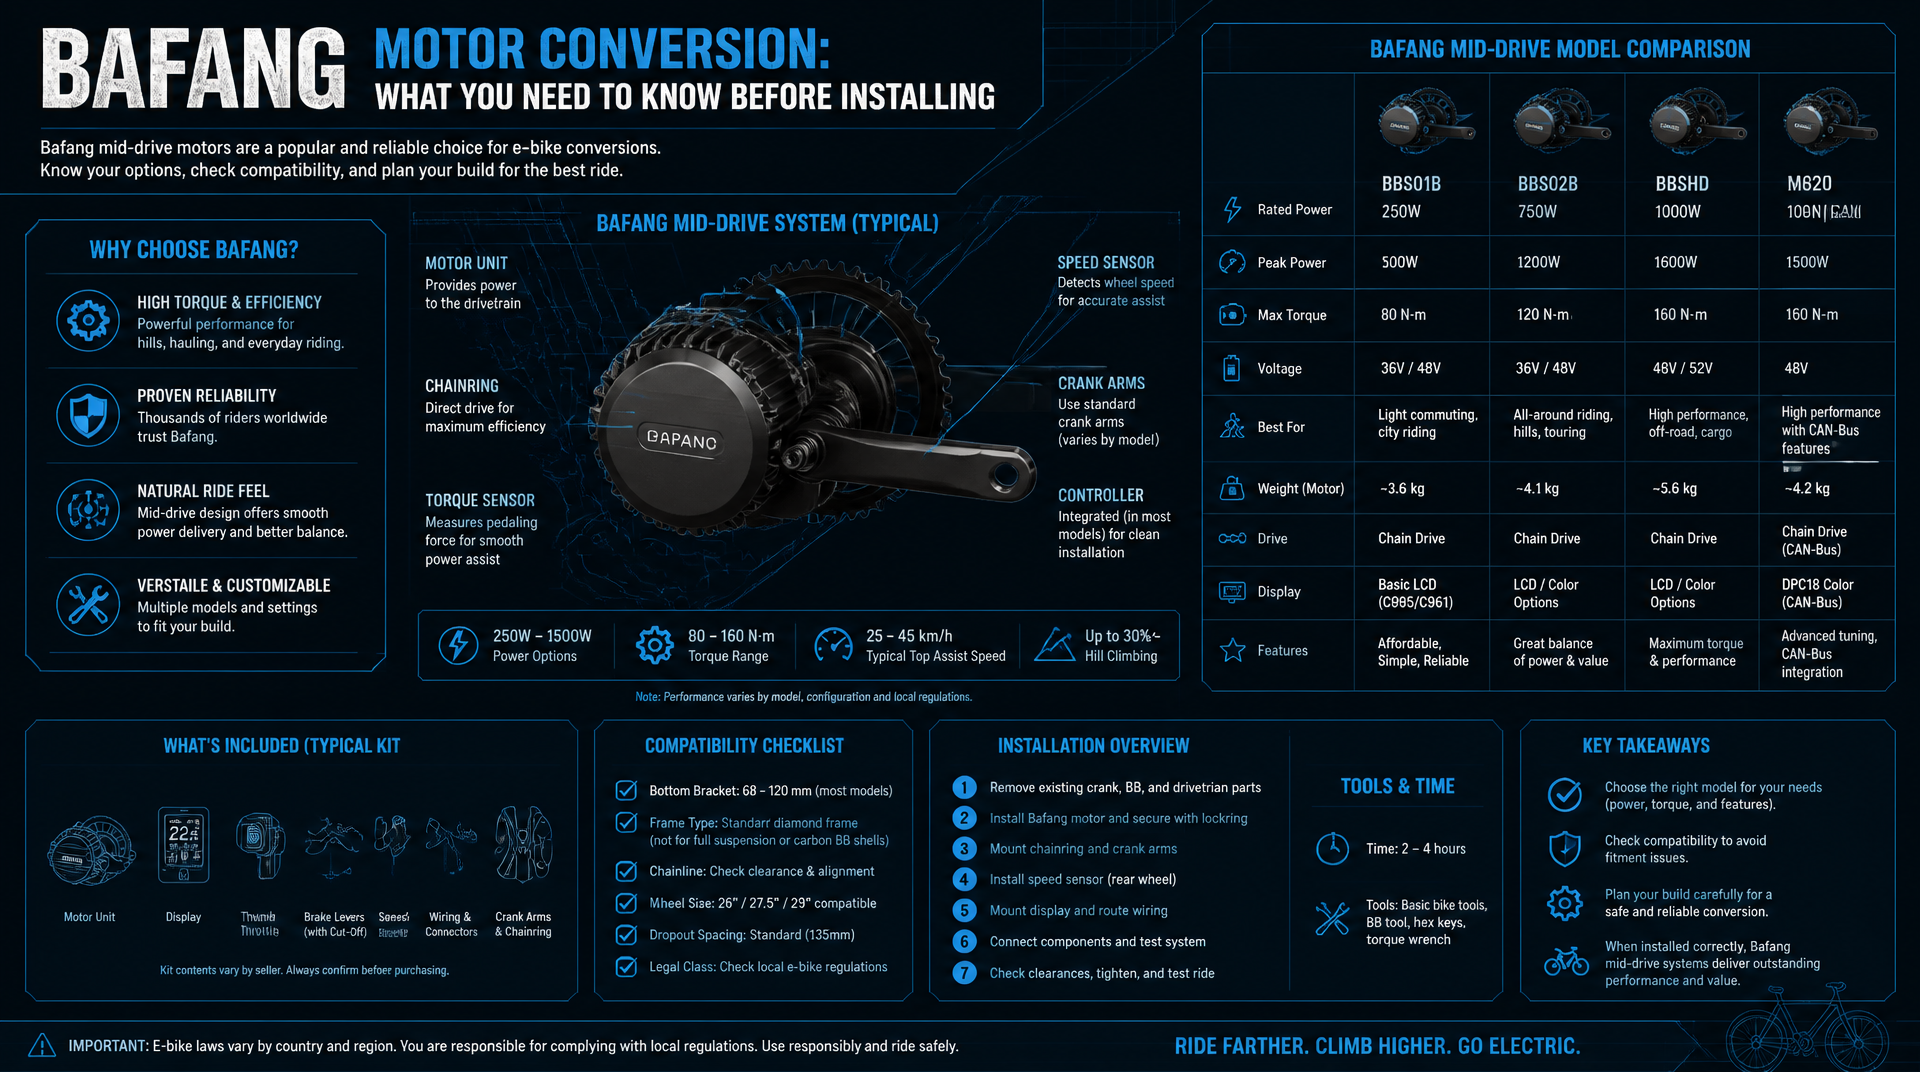
Bafang makes two main mid-drive families, and picking the wrong one is the #1 install killer. The BBS series (BBS01, BBS02, BBS-HD) uses cadence sensing—the motor runs when you pedal, with power tied to crank rotation. The M-series (M200, M500, M560, M820) uses torque sensing—motor output scales with how hard you press the pedals.
| Kit Family | Typical Use | Frame Requirement | Bottom Bracket |
|---|---|---|---|
| BBS01 (250W) | Commuting, legal-limited regions | Standard bike frames | 68-73mm |
| BBS02 (500W-750W) | Commuting, light trail | Standard bike frames | 68-73mm |
| BBS-HD (1000W) | Heavy cargo, steep hills | Steel or thick aluminum | 68-73mm (100mm adapter available) |
| M200/M500/M560/M820 | Integrated battery, torque sensor | Frames with standard BSA bottom bracket | 68-73mm |
Decision rule: If you want natural-feeling pedal assist that responds to effort, choose M-series. If you want simplicity and a lower price, BBS kits work fine. The M820 runs at 43V nominal and is lighter; the M560 runs at 48V with more torque. Measure your bottom bracket shell width with a caliper before ordering anything.
Branch point: If your frame has a press-fit bottom bracket (common on 2023+ mountain bikes), stop here. BBS and M-series kits require threaded BSA shells. You have three options: a thread-tapping adapter kit (adds $30-50 and requires careful installation), a different frame, or a hub motor kit instead. Do not force a BBS motor into a press-fit shell—you’ll strip the threads and ruin the frame.
The Bottom Bracket Check That Saves Hours
Measure three things on your current bottom bracket before you buy:
- Shell width — 68mm or 73mm is standard. Anything else needs adapters.
- Shell diameter — must be 33.6-35.8mm for BBS kits.
- Threading — English/BSA threads are standard. Italian or French threading requires adapter kits.
Common mistake: Assuming “standard” means your frame. Some 2023+ mountain bikes use press-fit bottom brackets that won’t accept BBS kits without a thread-tapping adapter kit. Check your frame’s spec sheet or measure the shell directly.
Stop threshold: If your frame has carbon dropouts, carbon stays, or a carbon bottom bracket shell, do not proceed with a BBS install. The motor’s torque can crack carbon at the shell, and the required frame notch voids the warranty. This is a hard stop—switch to a hub motor kit or a different donor bike.
Battery Placement: Triangle vs. Rack vs. Downtube
Battery mounting determines weight distribution, clearance, and theft risk. Each option has trade-offs.
- Triangle bag (center frame): Best weight distribution. Check your frame’s triangle dimensions—many full-suspension bikes have too small a triangle for a 48V 17.5Ah pack.
- Rear rack mount: Simple install, but adds weight behind the rear axle. Only use if your rack is rated for 25kg+.
- Downtube bottle-cage mount: Clean look, but limited to smaller packs (typically 48V 10-14Ah). Requires bottle-boss spacing that matches the battery mount.
Checkpoint: Before buying any battery, cut a cardboard template of its dimensions and tape it to your frame. Ride around the block. Does your knee hit it? Does the triangle bag rub the rear tire at full suspension compression? Fix these issues before wiring anything.
Branch point: If your frame triangle is too small for a 48V 17.5Ah pack, you have two realistic paths. For a commuter, a rear rack battery (48V 14Ah) works fine and keeps the weight low. For off-road use, a smaller downtube pack (48V 10Ah) preserves handling but cuts range to roughly 20-25 miles—decide if that range works before you commit.
Tool List: What You Actually Need
Don’t start until you have these:
| Tool | Why |
|---|---|
| Bottom bracket removal tool (Park Tool BBT-9 or equivalent) | Removes existing crank and BB |
| Crank puller | Separates crank arms from spindle |
| 8mm hex key | BBS lock ring installation |
| Torque wrench (25-50 Nm range) | Motor mounting bolts and lock ring |
| Dremel or file | Frame clearance notches |
| Heat gun | Shrink-wrap battery connections |
| Zip ties (heavy-duty, UV-rated) | Cable management |
Budget: Expect $40-80 for tools you don’t already own. A $15 bottom bracket tool that strips on the first use will cost you hours.
The 10mm Frame Notch (Don’t Skip This)
Bafang BBS motors have a locating pin that must seat into a notch on the bottom bracket shell. Many frames lack this notch.
What to do: Mark the 10mm wide, 4mm deep notch location at the 6 o’clock position on the bottom bracket shell. Use a round file or Dremel with a carbide bit. Go slow—remove material, test-fit, remove more. The motor should sit flush against the shell with no gap.
Warning: On carbon frames, this notch voids the warranty and risks frame damage. Carbon frames are not recommended for BBS kits unless the manufacturer explicitly approves.
Failure mode: If the motor doesn’t sit flush after 15 minutes of filing, stop and reassess. A gap of more than 2mm means the notch is in the wrong position or the shell is out of round. Remove the motor, re-mark the notch location, and verify your measurements. Forcing the lock ring down on a misaligned motor can crack the shell.
Chainline Reality Check
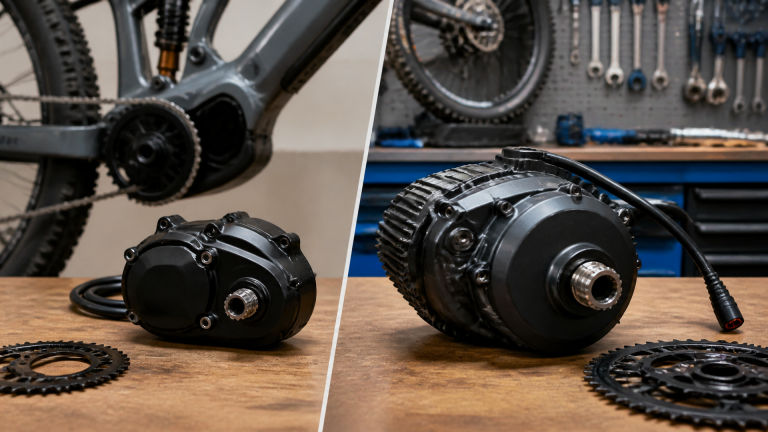
Bafang kits use a stock chainring that positions the chain further outboard than your original crankset. On bikes with a 135mm rear dropout, this often causes the chain to drop off the largest cassette cog.
Fix options:
- Use a chainring with offset (Luna Cycle Eclipse or Lekkie Bling Ring)
- Install a chain guide (cheap, works for most commuters)
- Accept a 1x drivetrain with a narrow-wide chainring
Test: After mock-mounting the motor, install the chain and pedal through all gears. If the chain rubs the frame or drops, fix it before wiring anything.
Battery Controller Placement: Heat Is the Enemy
The Bafang controller sits inside the motor housing on BBS kits, but external controllers on M-series kits need airflow.
Rule: Mount the controller where it gets moving air, not trapped behind the battery or inside a sealed bag. On M-series kits, the controller is a separate rectangular unit—zip-tie it to the downtube or seat tube, not inside a frame bag with no ventilation.
Failure signal: If the controller casing exceeds 60°C (140°F) after a 10-minute ride, relocate it. Overheating is the #1 cause of controller failure.
Wiring Sequence: Don’t Connect the Battery First
Follow this order to avoid frying the controller:
1. Mount motor to frame (torque lock ring to 35-45 Nm)
2. Install battery mount to frame
3. Run motor cable to battery mount area
4. Connect display cable to motor
5. Connect brake sensors and throttle (if using)
6. Connect speed sensor to rear wheel
7. Last: Connect battery to motor
Why: If you connect battery power first and a wire is pinched or shorted, you fry the controller. Test all connections with the battery disconnected.
Speed Sensor Alignment: The 5mm Rule
The spoke magnet must pass within 5mm of the speed sensor pickup. Too far, and the motor cuts out intermittently. Too close, and the magnet hits the sensor.
Checkpoint: Spin the wheel slowly by hand. The display should show speed within one full rotation. If it doesn’t, adjust the sensor position or magnet height.
Brake Sensor: Hydraulic vs. Mechanical
- Mechanical brakes: Use the included brake levers with integrated cutoff switches. Easy install.
- Hydraulic brakes: You need aftermarket brake sensors (magnetic or reed-switch type) that clamp to the brake hose. These are finicky—test that the motor cuts instantly when you squeeze the brake.
Common mistake: Installing a hydraulic brake sensor backwards (magnet on the lever, sensor on the caliper side). The magnet must move away from the sensor when the brake is pulled.
Programming Basics: Don’t Run Factory Settings
Bafang’s factory programming is conservative and often jerky. You’ll want to adjust:
| Parameter | Suggested Start | Why |
|---|---|---|
| Current limit (amps) | 15-18A (BBS02), 20-25A (BBS-HD) | Prevents overheating on hills |
| Pedal assist start degree | 1-3 (not 0) | Reduces sudden lurch |
| Keep current (%) | 40-60% | Smoother throttle response |
| Speed limit | Set to your local legal limit | Varies; verify locally |
Tool needed: Bafang programming cable ($15-20) and a Windows laptop. The Bafang Configuration Tool software is free. Mac users need a virtual machine.
Warning: Setting current too high (above 25A on BBS02) can overheat the motor on long climbs. Monitor motor temperature with a $10 infrared thermometer on your first few rides.
Battery Charging Safety: Hard Case vs. Soft Pack
- Hard case (dolphin, shark, bottle): Preferred. Protects cells from impact and moisture.
- Soft pack (triangle bag): Lighter, but cells can shift. Use foam dividers between cell groups.
Rule: Never charge a soft-pack battery unattended. If any cell group drops below 3.0V, the battery is damaged—stop using it.
The “Ride Around the Block” Test Sequence
After full install, do this before your first real ride:
1. Stationary test: Pedal in stand. Does motor engage smoothly? Does it cut off when you brake?
2. Low-speed test (parking lot): Ride at 8-10 mph. Any chain noise? Does the battery stay secure?
3. Hill test: Find a 5-8% grade. Does the motor bog down? Check controller temp.
4. Full charge test: Ride until battery shows 50%. Recharge fully. Does the charger cut off at 100%?
Success check: If all four tests pass without error codes on the display, you’re ready for normal riding.
Escalation signal: If you see error code 21 (speed sensor), 30 (communication), or 07 (throttle) on the display, stop riding. These indicate wiring or sensor issues that won’t resolve themselves. Recheck connections in the order listed above. If the error persists after reconnecting everything, contact the kit seller or Bafang support—do not keep riding with an active error code.
Top Installation Mistakes (and How to Avoid Them)
| Mistake | Consequence | Prevention |
|---|---|---|
| Overtightening lock ring | Stripped threads, motor wobble | Use torque wrench at 35-45 Nm |
| Pinching motor cable between motor and frame | Short circuit, controller death | Route cable through frame notch before tightening |
| Ignoring chainline | Chain drops, drivetrain wear | Test chainline before wiring |
| Using stock chainring on 1x drivetrain | Chain drops constantly | Swap to narrow-wide chainring |
| Mounting battery on suspension fork | Battery damage from vibration | Never mount battery to suspension components |
Budget Reality Check
| Item | Cost Range |
|---|---|
| BAFANG Mid Drive Kit 750W 1000W 500W BBS02B BBS-HD Electric Bike Conversion Kit (motor, display, throttle) | $350-450 |
| Battery (48V 14Ah) | $250-400 |
| Programming cable | $15-20 |
| Tools you don’t own | $40-80 |
| Chainring upgrade (if needed) | $40-80 |
| Brake sensors (if hydraulic) | $20-40 |
Total: $715-1070 minimum, not including the donor bike. If your donor bike needs new tires, brakes, or drivetrain parts, add $100-300.
FAQ
Can I install a Bafang kit on a carbon frame?
Not recommended. The bottom bracket shell can crack under motor torque, and the frame notch voids most warranties. Use a steel or aluminum frame.
How long does a typical install take?
First-time install: 4-8 hours. Experienced: 2-3 hours. Most time goes to frame prep and cable routing.
Do I need a torque sensor?
For natural-feeling pedal assist, yes. BBS kits use cadence sensors (motor on/off based on pedaling). M-series kits offer torque sensing (motor power proportional to pedal force). If you want smooth assistance, spend extra on M-series.
What’s the legal limit for Bafang kits?
Varies by location. In the US, federal law limits e-bikes to 750W and 20 mph (Class 2) or 28 mph (Class 3) with pedal assist. Many states follow these limits. Verify locally before riding on public roads.
Can I use a 52V battery with a 48V Bafang motor?
Yes, most Bafang controllers handle 52V (58.8V fully charged). You gain about 10% more top speed and torque. Verify your controller’s voltage rating on the label before connecting.
What if my frame has a 100mm bottom bracket shell?
The BBS-HD ships with a 100mm adapter in some kits. If yours doesn’t include it, order the adapter separately before starting. The standard 68-73mm lock ring will not work on a 100mm shell—do not attempt to force it.