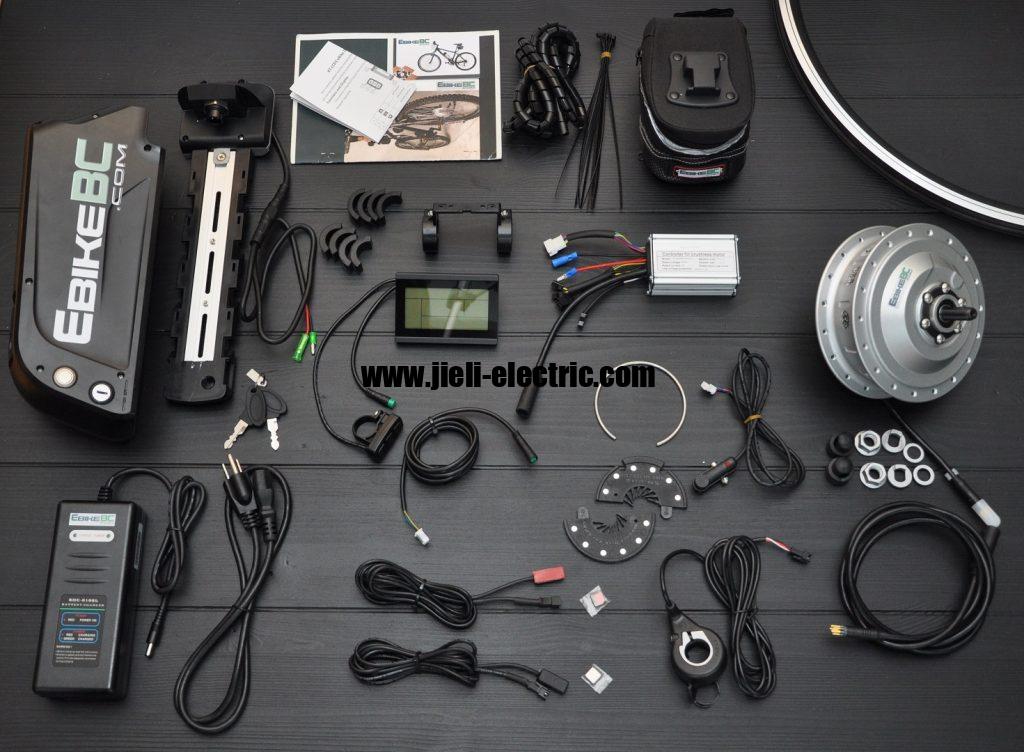
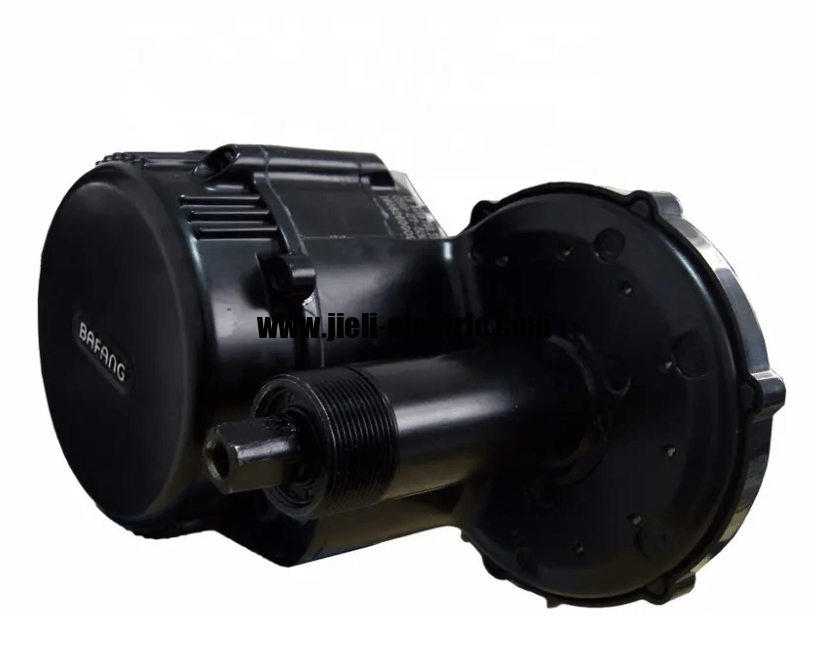
In the growing world of e-bikes, having a dedicated space for maintenance and repairs is essential for enthusiasts and professionals alike. This article presents a comprehensive guide to building your own DIY wood e-bike repair wall, ensuring that your tools and accessories are organized and easily accessible. By carefully selecting materials and designing an efficient layout, you can create a functional workspace that enhances your repair capabilities. We will walk you through the essential tools needed for the project, as well as provide a step-by-step assembly process to facilitate your efforts. Finally, we will explore finishing touches and aesthetic enhancements to make your e-bike repair wall not only practical but visually appealing as well.
Key Takeaways
Use high-quality, weather-resistant materials like plywood or hardwood, and stainless steel screws for durability and longevity.
Plan an organized layout that allocates specific zones for different tasks and incorporates vertical storage solutions.
Gather essential tools such as a saw, drill, measuring instruments, and safety gear to ensure a smooth assembly process.
Establish designated spaces for tools and accessories, utilizing pegboards, color-coding, and bins to streamline workflow and reduce clutter.
Selecting the Right Materials
Selecting the appropriate materials is crucial for ensuring the durability and functionality of a DIY wood e-bike repair wall. High-quality plywood or hardwood is recommended for structural integrity, offering both strength and aesthetic appeal. Additionally, using weather-resistant finishes can enhance the longevity of the wood, especially in environments subject to humidity or temperature fluctuations. Fasteners, such as stainless steel screws, should be selected for their resistance to rust and corrosion, ensuring a secure assembly. Furthermore, incorporating hooks and brackets made from durable metals will facilitate the organization of tools and accessories. It is also advisable to consider the weight capacity of the materials, as e-bike components can be hefty. Ultimately, careful selection of materials will lead to a robust and efficient repair wall that meets the needs of any e-bike enthusiast.
Designing Your Repair Wall Layout
A well-thought-out layout for your repair wall is essential to maximizing efficiency and accessibility during the e-bike maintenance process. Begin by identifying the tools and equipment you use most frequently, as these should be easily accessible. Consider incorporating vertical storage solutions, such as pegboards or shelves, to optimize space and keep items organized. Allocate specific zones for different tasks, such as assembly, disassembly, and cleaning, to streamline workflow. Ensure that your layout allows for adequate working space, preventing clutter and facilitating movement. Incorporate proper lighting to illuminate the workspace, enhancing visibility for detailed tasks. Regularly review and adjust the layout as your tool collection and maintenance needs evolve to maintain optimal functionality.
Essential Tools for the Project
Essential tools for constructing a DIY wood e-bike repair wall include a high-quality saw, a reliable drill, and precise measuring instruments to ensure accuracy and durability. Additionally, a level is crucial for ensuring that the wall remains straight and visually appealing. A stud finder will assist in locating the best points for securing the wooden structure to the wall. Clamps are essential for holding pieces of wood together during the assembly process, providing stability and safety. Sandpaper or a power sander will be needed to smooth out rough edges and prevent splinters. A measuring tape is indispensable for taking accurate dimensions before cutting materials. Lastly, appropriate safety gear, including goggles and gloves, should be used to protect oneself during the construction process.
Step-by-Step Assembly Process
The step-by-step assembly process provides a structured approach to creating a functional wood e-bike repair wall, ensuring efficiency and accuracy throughout the project. Initially, gather all necessary materials and tools to facilitate a seamless workflow. Next, outline the design and dimensions of the wall, taking care to ensure that it meets specific e-bike repair needs. Following this, securely mount the wooden panels to the designated wall space, ensuring they are level and stable. Subsequently, install shelves and hooks based on the planned layout for optimal accessibility. Once the main structure is complete, apply finishing touches, such as sanding and painting for durability and aesthetics. Finally, the organized setup will pave the way for effectively arranging e-bike tools and accessories.
Organizing E-Bike Tools and Accessories
Organizing e-bike tools and accessories effectively enhances efficiency and accessibility during repairs and maintenance tasks. Establishing designated spaces for each tool not only streamlines workflow but also minimizes the time spent searching for necessary items. Utilizing pegboards or wall-mounted organizers can maximize vertical space while keeping tools visible and within reach. Color-coding or labeling tool storage can further improve organization and speed up the identification process. Additionally, incorporating bins or drawers for smaller accessories can reduce clutter and maintain an orderly workspace. Regularly reviewing and updating the organization system ensures that it remains functional and meets evolving needs. With a well-organized repair area, one can then focus on the finishing touches and aesthetic enhancements that elevate the overall appeal of the e-bike repair wall.
Finishing Touches and Aesthetic Enhancements
Attention to detail in the finishing touches and aesthetic enhancements significantly elevates the overall appearance and functionality of the DIY wood e-bike repair wall. Incorporating a cohesive color scheme not only adds visual appeal but also creates a harmonious workspace. The addition of decorative shelving can serve as both a practical storage solution and a space for displaying e-bike memorabilia or tools. Using high-quality finishes, such as varnish or paint, protects the wood while enhancing its natural beauty. Integrating functional lighting can improve visibility while working on repairs, highlighting the meticulous organization of tools and accessories. Custom signage can provide a personal touch, identifying specific areas for different tools or e-bike components. Overall, these enhancements contribute to a professional and inviting atmosphere, encouraging a productive repair environment.
Conclusion
In summary, the construction of a DIY wood e-bike repair wall involves careful selection of materials and thoughtful design to enhance both functionality and aesthetics. Implementing effective organizational strategies, such as vertical storage solutions and designated work zones, greatly improves the efficiency of the repair process. The assembly phase requires precise measurements and proper installation techniques to ensure a stable and visually appealing structure. Additionally, attention to safety and ongoing system reviews play a crucial role in maintaining an effective workspace. Ultimately, a well-designed repair wall not only streamlines workflow but also elevates the overall experience of working on e-bikes.
If you’re looking to enhance your e-bike experience even further, I highly recommend checking out this informative guide on how to change the speed limit on your e-bike. Understanding this adjustment can help you customize your ride to better suit your needs. Visit the link here: change speed limit on e bike foldable for detailed instructions and tips!


